
Shopify makes it easy to launch a store, but sooner or later most merchants want something the theme does not offer out of the box: a custom product layout, a size guide that pulls data from metafields, a landing page section the marketing team can reuse, or simply a faster, cleaner storefront than a heavily modified premium theme provides.
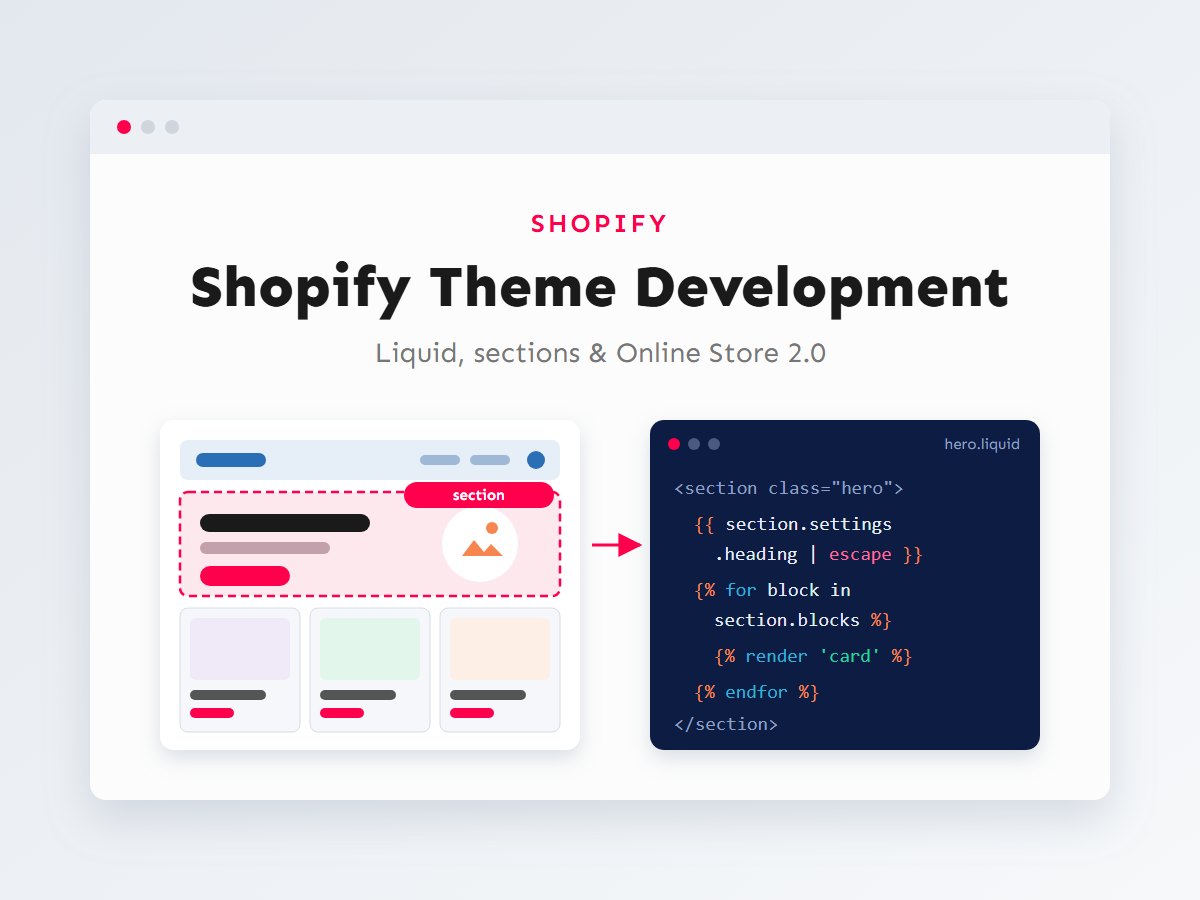
That is where Shopify theme development comes in. Since Online Store 2.0, themes are built from JSON templates, sections and blocks, which means a developer can build flexible components once and the merchant can arrange them in the theme editor without touching code. Done well, it gives you the best of both worlds: custom design and functionality, with a store your team can still manage on its own.
In this guide I walk through how a modern Shopify theme is structured, how Liquid turns store data into HTML, how to build a custom section with settings and blocks, and the developer workflow I use with Shopify CLI and GitHub. It is written for developers getting into Shopify and for store owners who want to understand what their developer is actually building.
In this article
What Online Store 2.0 changed
Before Online Store 2.0, only the homepage was truly modular. Product, collection and other pages were rendered by fixed .liquid templates, so adding a new block of content to a product page usually meant editing code, duplicating templates or installing an app that injected markup.
Online Store 2.0 introduced JSON templates. A JSON template does not contain markup; it is a list of sections and their settings. Because every page type can now use one, merchants can add, remove and reorder sections on any page in the theme editor, and developers can create alternative templates (for example a different layout for a bundle product) without writing a new page from scratch.
It also brought app blocks, so apps can add their UI through the theme editor instead of editing theme files, and first-class support for metafields and dynamic sources, so custom data such as care instructions or size charts can be connected to section settings without code.
| Area | Before Online Store 2.0 | With Online Store 2.0 |
|---|---|---|
| Page templates | Fixed .liquid files | JSON templates made of sections |
| Sections | Homepage only | Every page type |
| Apps | Edited theme code or injected scripts | App blocks and app embeds added in the editor |
| Custom data | Workarounds and apps | Native metafields and dynamic sources |
| Header and footer | Static sections | Section groups the merchant can edit |
The anatomy of a Shopify theme
A Shopify theme is a folder with a fixed structure. Once you know what each directory is for, any theme, including large premium ones, becomes much easier to navigate.
- layout/ – the outer HTML shell.
theme.liquidcontains the<head>, global scripts and styles, and the{{ content_for_layout }}placeholder where each page’s content goes. - templates/ – one file per page type (
product.json,collection.json,page.json…). Alternate templates such asproduct.bundle.jsoncan be assigned per product. - sections/ – the reusable, configurable building blocks, plus section group files such as
header-group.jsonandfooter-group.json. - snippets/ – small partials rendered with
{% render %}, such as a product card or a price. - assets/ – CSS, JavaScript, images and fonts, served from Shopify’s CDN.
- config/ –
settings_schema.jsondefines global theme settings (colours, typography, social links) andsettings_data.jsonstores the values the merchant chose. - locales/ – translation files such as
en.default.jsonfor storefront text anden.default.schema.jsonfor editor labels.
The key idea is the nesting: layout → template → sections → blocks. The layout is shared, the template decides which sections appear on a page type, each section is a self-contained component with its own settings, and blocks are the repeatable pieces inside a section that merchants can add, remove and reorder.
How a page is rendered
Shopify themes are rendered on Shopify’s servers. When a visitor opens a product URL, Shopify finds the product, picks the template assigned to it, renders each section listed in that JSON template in order, and wraps the result in the layout. Liquid is evaluated during that render, so by the time HTML reaches the browser every {{ product.title }} has become real text.
This server-side rendering is good news for performance and SEO: search engines receive complete HTML and you do not need a JavaScript framework to show products. JavaScript is for interactivity, such as variant pickers, cart drawers and filters, and should be kept as small as possible.
Liquid essentials: objects, tags and filters
Liquid is Shopify’s template language. It is deliberately simple, and it has three building blocks you will use constantly.
- Objects, in double curly braces, output data:
{{ product.title }},{{ cart.item_count }},{{ shop.name }}. - Tags, in
{% %}, add logic:if,for,render,form,section. - Filters, after a pipe, transform output:
money,image_url,escape,tfor translations.
{%- comment -%} A simple product card snippet: snippets/product-card.liquid {%- endcomment -%}
<a class="product-card" href="{{ product.url }}">
  {%- if product.featured_image -%}
    {{ product.featured_image
      | image_url: width: 600
      | image_tag: loading: 'lazy', widths: '300, 450, 600', alt: product.title | escape }}
  {%- endif -%}

  <h3>{{ product.title | escape }}</h3>

  {%- if product.compare_at_price > product.price -%}
    <s>{{ product.compare_at_price | money }}</s>
    <span class="badge">{{ 'products.sale' | t }}</span>
  {%- endif -%}
  <strong>{{ product.price | money }}</strong>
</a>
A few habits make Liquid code much easier to maintain. Use {% render %} for snippets (it isolates variables, unlike the old include), use the whitespace-trimming {%- and -%} syntax to keep HTML clean, always run user-entered text through escape, and use image_url with image_tag so Shopify generates responsive srcset images for you.
Building a custom section with settings and blocks
Sections are where custom theme work pays off. A section is a .liquid file in sections/ with two parts: the markup, and a {% schema %} tag containing JSON that tells the theme editor which settings and blocks to offer.
Here is a complete “Feature highlights” section: a heading, an optional intro, and a repeatable list of feature blocks, each with an icon, title and text. The merchant can add it to any JSON template and manage the content without a developer.
{%- comment -%} sections/feature-highlights.liquid {%- endcomment -%}
<section class="features color-{{ section.settings.color_scheme }}">
  <div class="page-width">
    {%- if section.settings.heading != blank -%}
      <h2>{{ section.settings.heading | escape }}</h2>
    {%- endif -%}
    {{ section.settings.intro }}

    <ul class="features__grid features__grid--{{ section.settings.columns }}">
      {%- for block in section.blocks -%}
        {%- case block.type -%}
          {%- when 'feature' -%}
            <li class="features__item" {{ block.shopify_attributes }}>
              {%- if block.settings.icon -%}
                {{ block.settings.icon | image_url: width: 96 | image_tag: loading: 'lazy' }}
              {%- endif -%}
              <h3>{{ block.settings.title | escape }}</h3>
              <p>{{ block.settings.text | escape }}</p>
            </li>
          {%- when '@app' -%}
            <li class="features__item">{% render block %}</li>
        {%- endcase -%}
      {%- endfor -%}
    </ul>
  </div>
</section>

{% schema %}
{
  "name": "Feature highlights",
  "tag": "div",
  "class": "section-features",
  "settings": [
    { "type": "text", "id": "heading", "label": "Heading", "default": "Why customers love us" },
    { "type": "richtext", "id": "intro", "label": "Intro" },
    {
      "type": "range", "id": "columns", "label": "Columns",
      "min": 2, "max": 4, "step": 1, "default": 3
    },
    {
      "type": "select", "id": "color_scheme", "label": "Colour scheme",
      "options": [
        { "value": "light", "label": "Light" },
        { "value": "dark", "label": "Dark" }
      ],
      "default": "light"
    }
  ],
  "blocks": [
    {
      "type": "feature",
      "name": "Feature",
      "settings": [
        { "type": "image_picker", "id": "icon", "label": "Icon" },
        { "type": "text", "id": "title", "label": "Title", "default": "Free shipping" },
        { "type": "textarea", "id": "text", "label": "Text" }
      ]
    },
    { "type": "@app" }
  ],
  "max_blocks": 8,
  "presets": [
    {
      "name": "Feature highlights",
      "blocks": [ { "type": "feature" }, { "type": "feature" }, { "type": "feature" } ]
    }
  ]
}
{% endschema %}
A few details in that schema are worth calling out:
presetsmake the section appear in the “Add section” menu of the theme editor. Without a preset, the section can only be added to a template by editing its JSON.block.shopify_attributeslets the theme editor highlight and select the block when a merchant clicks it in the preview. Always include it on the block’s wrapper element.- Setting types such as
image_picker,richtext,range,select,product,collectionandcolor_schemegive the merchant proper controls instead of free-text fields that are easy to get wrong. { "type": "@app" }allows app blocks from installed apps inside this section (more on that below).
What the JSON template stores
When the merchant adds the section to the homepage and fills it in, Shopify writes the result into the template file. You rarely edit this by hand, but it helps to recognise it, especially when you review changes in Git.
{
  "sections": {
    "hero": { "type": "image-banner", "settings": { "image": "shopify://shop_images/hero.jpg" } },
    "features_8Kq2": {
      "type": "feature-highlights",
      "blocks": {
        "feature_a1": { "type": "feature", "settings": { "title": "Free shipping" } },
        "feature_b2": { "type": "feature", "settings": { "title": "30-day returns" } }
      },
      "block_order": [ "feature_a1", "feature_b2" ],
      "settings": { "heading": "Why customers love us", "columns": 3 }
    }
  },
  "order": [ "hero", "features_8Kq2" ]
}
Code and content live in the same files
Because merchant edits are saved into templates/*.json and config/settings_data.json, pushing your local copy of those files can overwrite changes made in the live theme editor. Pull before you push, or ignore those files in your deployment, which is covered in the workflow section below.
App blocks and metafields
App blocks are how modern Shopify apps add their interface to a store. Instead of the app editing product.liquid (which left orphaned code behind after uninstalling), the app ships a theme app extension, and the merchant places its block, for example a reviews widget or a subscription selector, inside any section that accepts @app blocks. Apps that need to load on every page, such as a chat widget, use app embed blocks that are toggled in the theme settings.
For theme developers, the takeaway is simple: add { "type": "@app" } to the blocks of your main product section and any other section where apps make sense, and render it with {% render block %}. When I integrate subscription or product add-on apps, this is what keeps the storefront clean and the app removable.
Metafields store custom data on products, collections, customers and the shop itself, such as fabric, care instructions, size charts or a downloadable spec sheet. Once a metafield definition exists in the admin, you can output it directly in Liquid, or connect it to a section or block setting as a dynamic source so each product shows its own value without any code changes.
{%- assign care = product.metafields.custom.care_instructions -%}
{%- if care != blank -%}
  <details class="product__care">
    <summary>{{ 'products.care' | t }}</summary>
    {{ care | metafield_tag }}
  </details>
{%- endif -%}
The developer workflow: Shopify CLI and GitHub
Editing theme code in the admin’s code editor works for a quick fix, but it has no history, no review and no safe way to test. A professional workflow uses Shopify CLI for local development and Git for version control.
The commands you will use most:
# Start a new theme from Shopify's reference theme, Dawn
shopify theme init my-theme

# Download an existing theme to work on it locally
shopify theme pull --store your-store.myshopify.com

# Local preview with hot reload, served at http://127.0.0.1:9292
shopify theme dev --store your-store.myshopify.com

# Lint Liquid and JSON with Theme Check
shopify theme check

# Upload to a new unpublished theme for review
shopify theme push --unpublished

# Publish a theme when it is approved
shopify theme publish
For ongoing work I prefer Shopify’s GitHub integration: connect a branch to a theme in the admin’s theme library and every push to that branch syncs to the theme automatically. Changes the merchant makes in the theme editor are committed back to the branch, so code and content stay in sync. A typical setup is a main branch connected to the live theme and a staging branch connected to an unpublished copy for review.
If you deploy with the CLI instead, use --ignore to leave config/settings_data.json and templates/*.json alone when pushing to a live theme, so you never overwrite content the merchant has edited since your last pull.
Best practices for maintainable themes
Most problems I see in Shopify stores are not caused by Shopify itself but by years of quick fixes layered on top of a theme. These habits prevent that:
- Start from a solid base. Dawn or a well-built premium theme gives you accessible, performant defaults. Customise it rather than fighting it.
- Build sections, not one-off pages. If something might appear twice, make it a section with settings. Future landing pages then need no development.
- Prefer settings and metafields over hard-coded text. Content the merchant can edit is content they will not ask you to change.
- Keep JavaScript small. Use native HTML (
<details>, forms), web components, and load scripts withdefer. Every app and script adds weight to every page. - Use translation keys. Put storefront text in
locales/and output it with thetfilter, even for a single-language store. It keeps text out of templates and makes adding a language straightforward. - Audit apps regularly. Remove apps you no longer use and check that their code went with them. Leftover snippets are a common cause of slow stores.
- Version everything. Git, a staging theme and Theme Check in your workflow catch mistakes before customers see them.
If you are still deciding which platform to build on, my comparison of WooCommerce vs Shopify covers costs, control and maintenance side by side.
Key takeaways
- Online Store 2.0 themes nest as layout → JSON template → sections → blocks.
- Liquid renders on Shopify’s servers using objects, tags and filters, so pages arrive as complete HTML.
- A section’s
{% schema %}defines the settings, blocks and presets the merchant sees in the theme editor. - Support
@appblocks and metafields so apps and custom data plug in without code edits. - Develop locally with Shopify CLI, version with GitHub, and always preview on an unpublished theme first.
Need a custom section, a cleaner theme or an app integrated properly into your Shopify store? Take a look at my services or get in touch and tell me what you want your store to do.